Here’s the Botanicals block of the month that I owe you from April 1. Shame on me, though it’s been a busy (and difficult) month. I’ll report more later. In the meantime, here’s the Rosebud block.
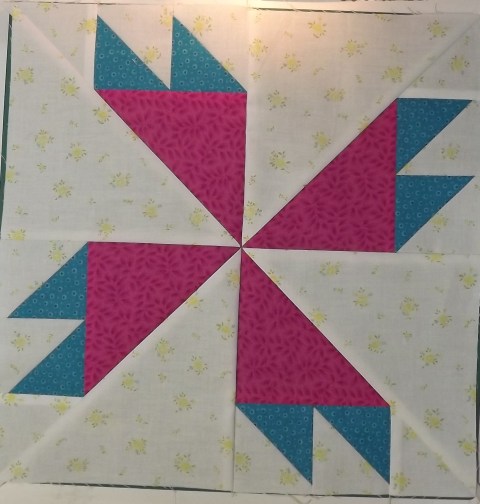
This is a pretty simple block, but there are a couple of things to keep in mind. As with all of my tutorials and patterns, I like to sew the components (like the half square triangles) larger than needed then trim them to size. The parts of the block that have 7/8″ measurements must be cut accurately, however, because they are not trimmed later.
As with all of the block in this BOM, it finishes at 12″ (12 1/2″ unfinished). You will need:
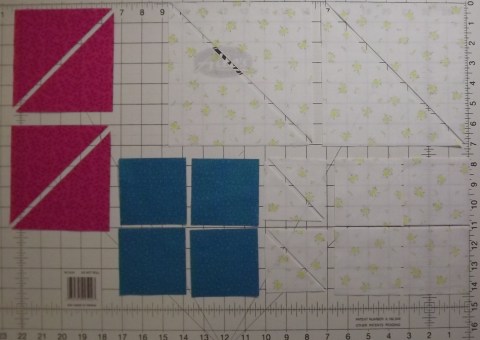
Fabric 1 (blue): Cut (4) 3 1/4” squares.
Fabric 2 (pink): Cut (2) 4 7/8” squares. Cut diagonally once.
Background (white):
Cut (2) 6 7/8” squares. Cut diagonally once.
Cut (4) 3 1/4” squares.
Cut (2) 2 7/8” squares. Cut diagonally once.
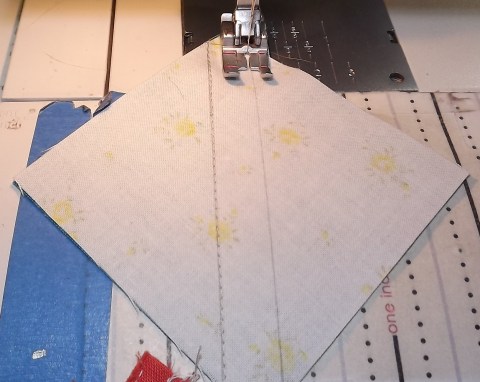
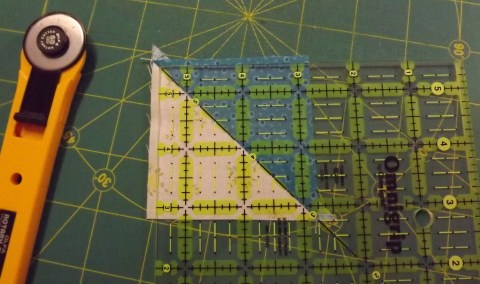
Place each 3 1/4” background square right sides together with a fabric 1 square. Draw a diagonal line on the back of the lighter squares, and diagonal lines 1/4” to either side of the center line. (I only drew the two outer lines.)

Sew on the two outer lines, then cut on the center lines.
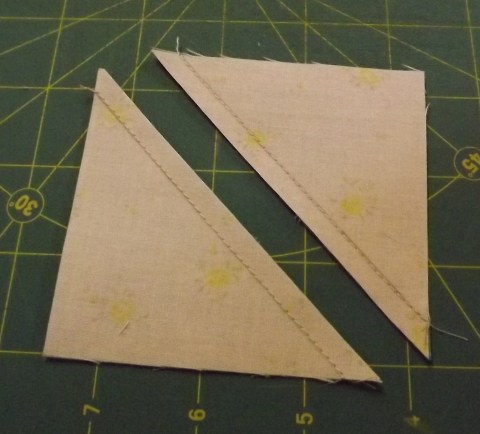
Press to the background. Trim the resulting (8) half square triangle units (HSTs) to 2 1/2”.
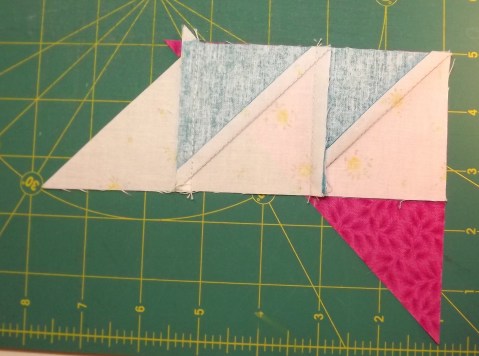
Sew the HST units together in pairs, then sew the 2 7/8” HSTs to each pair.


You will have four sets like this. Press to the light.

Sew each unit to one fabric 2 triangle to create four units.

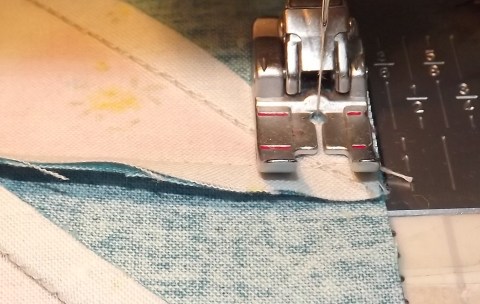
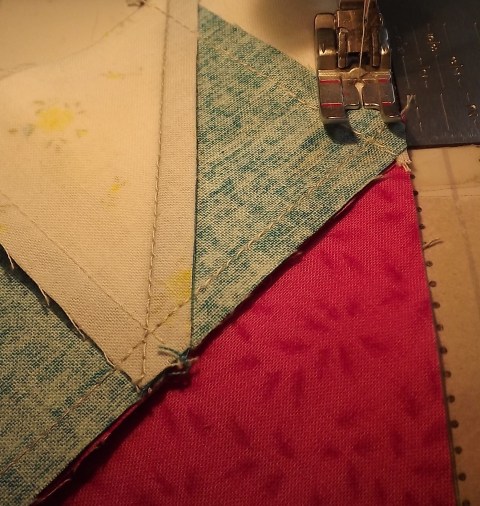
When you place the fabric in your machine, the two ends should form a notch. The center of that notch should be at your 1/4″ seam.

Use the intersection of the threads to guide your seam. It should a hair outside the point created by the threads.
Press to the large triangle.
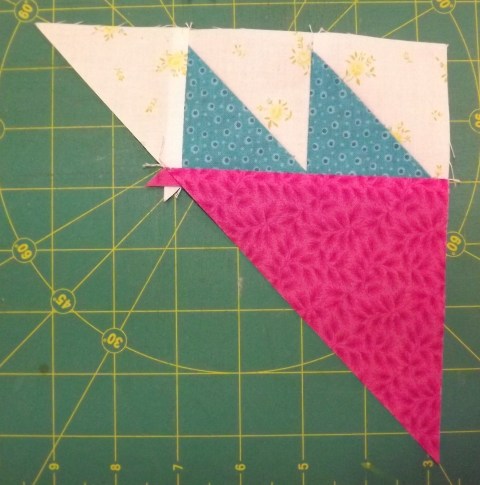
Trim the point from the middle, then place a large background triangle right sides together with each unit – they should be the same size and shape.
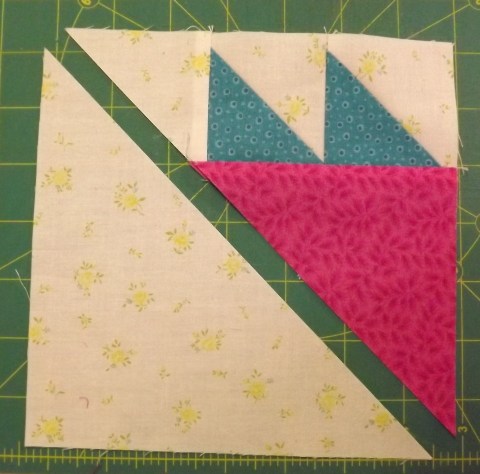
Line up the short edges, then sew along the long diagonal edge. As before, use the thread intersection to guide your seam to avoid cutting off points.

Press to the background. You will have four units.

Lay out the four units as you would a four-patch block, rotating each unit to form the pinwheel shape.

Sew the top two sections together, then the bottom two sections. Press toward the background.

Sew the top and bottom sections together. Turn the block over so you’re looking at the back and gently separate the center intersection, finger pressing to the background on each side. This will cause the sections to go in opposite
directions, revealing a tiny pinwheel at the center, and allowing the seams to lie more flat.

Press with the iron to finish.
Any questions? Click here to download a “short version” of these block instructions in PDF form. (The pressing instructions for the HST units are wrong in the PDF – you should press to the background.)
Please visit the Botanicals BOM Intro post for optional settings with fabric requirements and links to all blocks that have been posted so far.
