Next up in my EQ Project Files sharing is the quilt currently on my bed: Coin Toss. Read more about the quilt here and here.
I’m a huge fan of Electric Quilt. I’ve made exponentially more virtual quilts than real quilts, and I thought it might be nice to share some of those virtual quilts here. I’ll also share an EQ project file that you can download. Fair warning – if you don’t have EQ you won’t be able to use these files. I’ll be sharing mostly EQ8 files, so if you have an older version you may want to upgrade. It’s worth it, I promise!
Once in a great while, I might write up instructions for a quilt. If I do that, I may share the instructions here for free. If it’s a particularly complex pattern, I might spend more time writing it up and turn it into a pattern for sale. Don’t hold your breath, though.
As stated many times before, I receive no compensation from Electric Quilt for any of this – I just really love the product. I am (at least I think I still am) an EQ Artist on their Do You EQ website.
You can find all of the EQ Files posts by searching for EQ Files, or just click here.
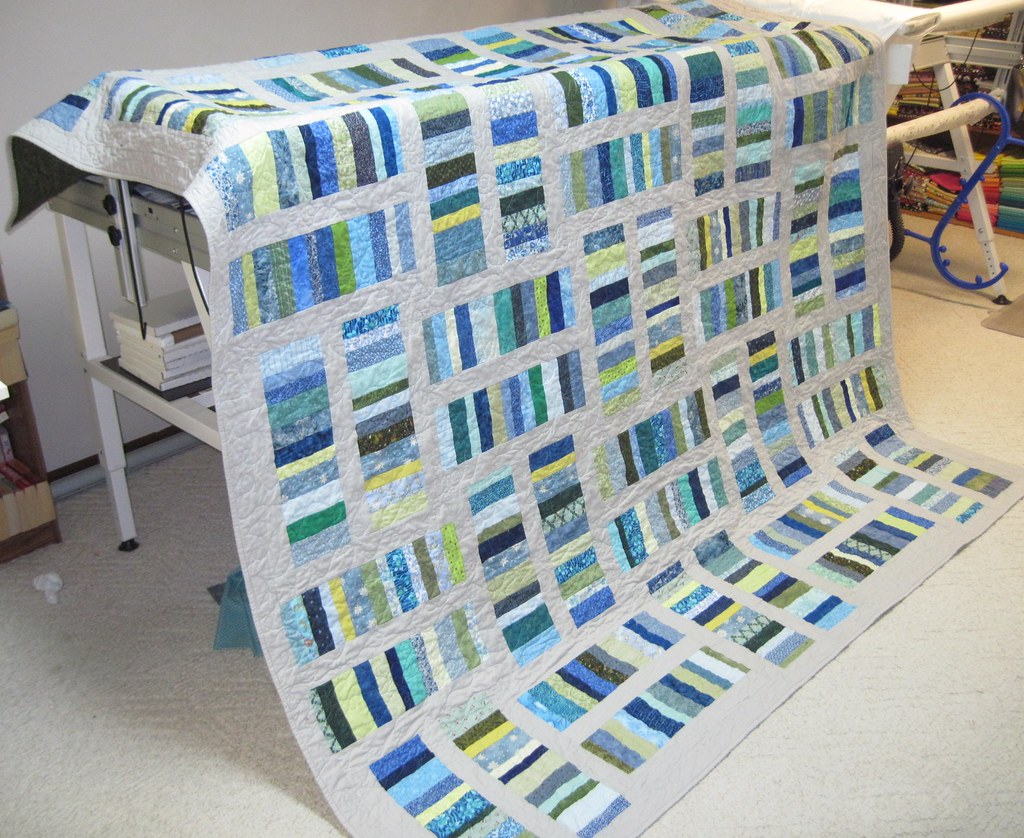
Here’s the finished quilt:
Here’s the EQ illustration: 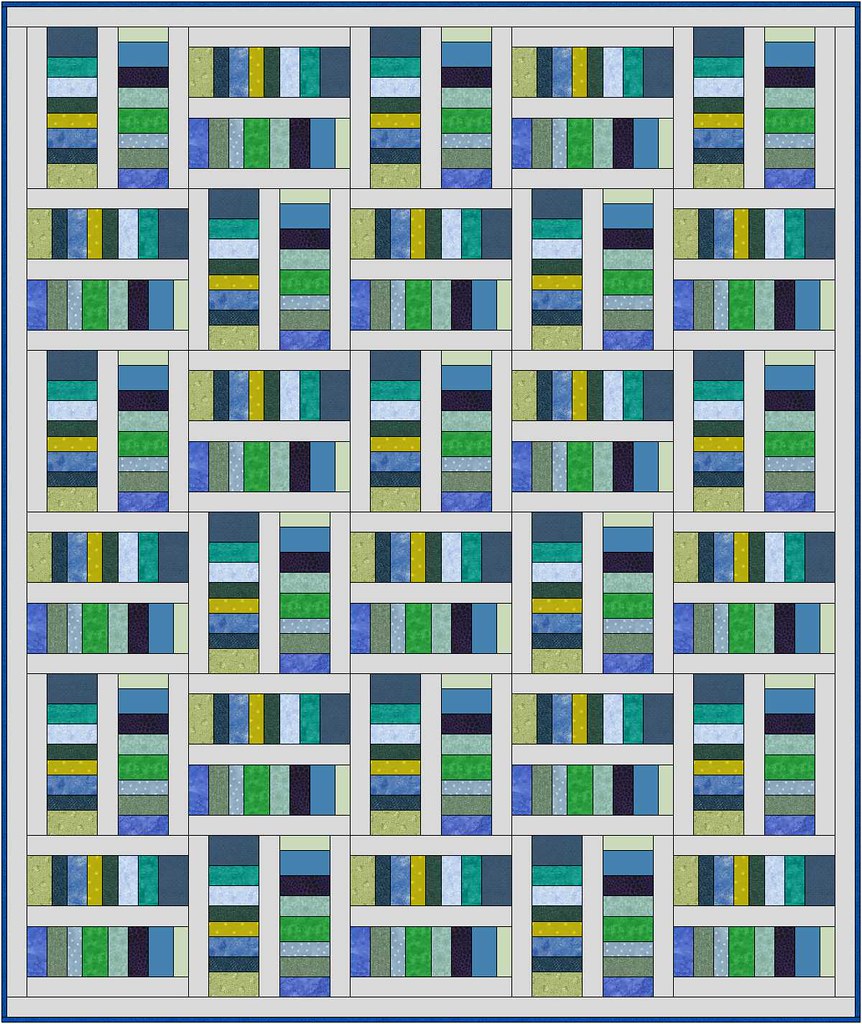
Here’s an alternate colorway that completely changes the look of the quilt.

Electric Quilt Project files are saved in Google Drive.

Edited to add:
I’ve had a few people ask for piecing instructions on this quilt. It’s so easy, I haven’t written up a pattern, but here’s a quick explanation if you’d like to recreate it. It’s a great design for a newer quilter, someone looking for a fast project, or a way to use scraps.
The block finishes at 16″ (16 1/2″ unfinished), and the background (gray) strips are cut at 2 1/2″ wide. The coins (the multicolor fabric pieces) can be accomplished a couple of different ways, depending on the fabric you’re starting with.
Option 1 – Scraps: Cut whatever fabrics you have into pieces 5 1/2″ wide and in varying heights ranging from 2″ to 3 1/2″ (you can make them all the same size if you prefer). Mix and match, sewing them together until you have a piece at least 16 1/2″ long. Trim to 16 1/2″. This is a great option if you’re working with scraps, but it’s also the most time consuming.
Option 2 – Yardage: Cut strips of varying widths along the entire width of fabric (from selvage to selvage). Again, you can make them all the same width if you like. Do NOT cut into smaller pieces. Sew the strips together, side by side, until you have a good-sized strip set. It can be 16 1/2″ long, if you like, but you can also do smaller groups so the blocks are different. Cut the strip sets into 5 1/2″ wide segments. If they’re less than 16 1/2″ long, pair groups together to reach the full length. This is the easiest, fastest method.
Option 3 – Jelly Rolls: Just like Option 2, but the strips are already cut for you. Sew your strip sets and cut into 5 1/2″ wide segments.
Once you have the coin strips created, just sew a 2 1/2″ wide background strip, a coin strip, another background strip, another coin strip, and a final background strip. This is your block and should be 16 1/2″ square.
Lay out your blocks, rotating every other one, so it looks like this…
|| = || = || = ||
= || = || = || =
… continuing until you have the size you want. Add a 2 1/2″ border around the whole thing in the background fabric.
My quilt is 84″ x 100″, and is 5 blocks across, 6 blocks down.

Where is the love button for this? This style quilt has been on my “wannado” list for a while. Your quilt finished beautifully.